Checking the mountain weather with Skida
- Feb 26
- 4 min read
Checking the weather forecast is one of the simplest (and most underrated) safety steps you can take before heading into the mountains. And yet, it’s surprisingly easy to end up in the classic “Toby situation”: gear packed, plan ready, motivation high… and then you realize you never actually checked wind, precipitation, or temperature at the elevation you’re going to.
In Skida, we make it easy to check the forecast exactly where you’ll be travelling—not just for a nearby town or a vague area name. With Yr integrated as our weather provider, you get both a solid forecast and useful real-time context like nearby observations and webcams.
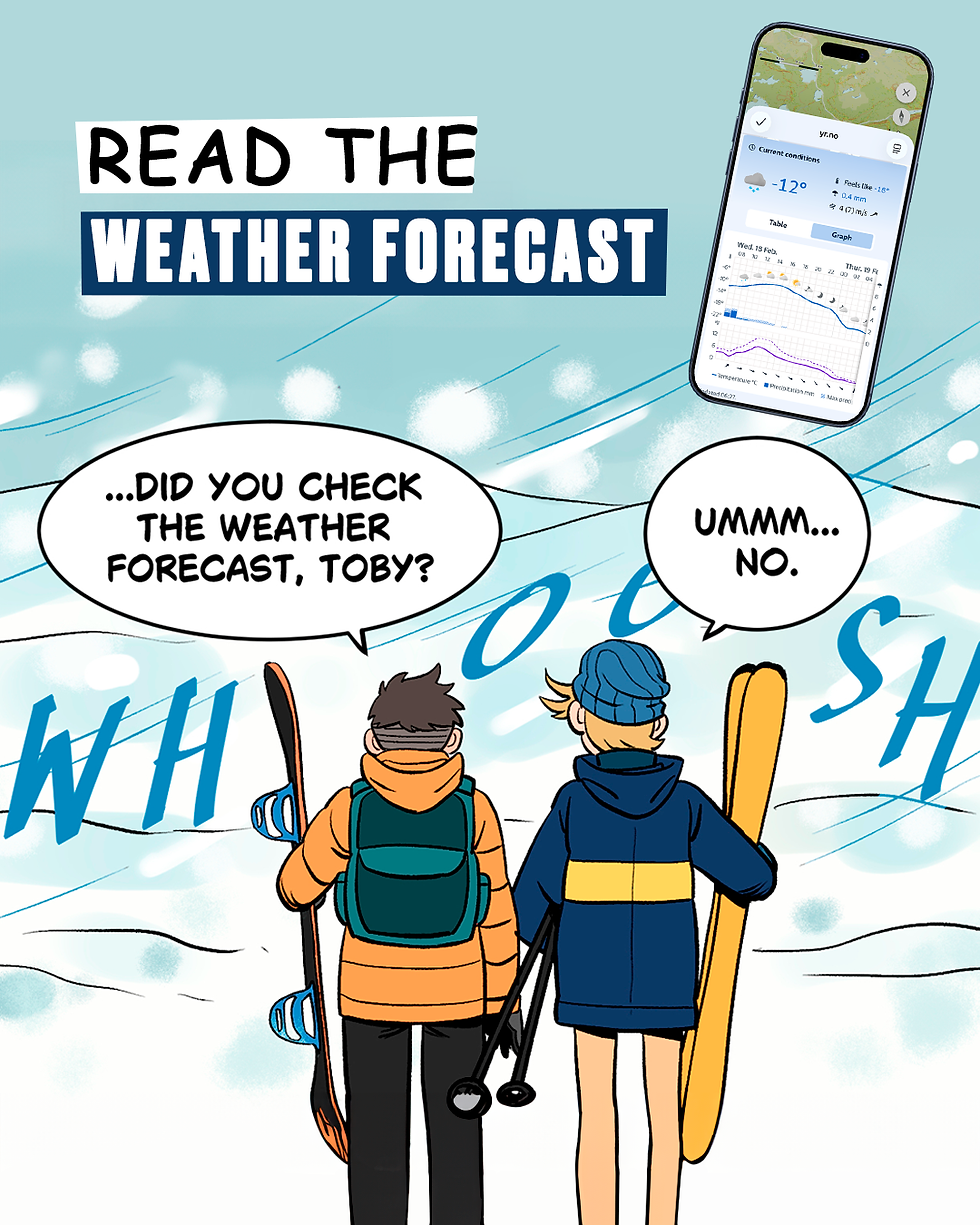
Don’t end up like Toby and Mike, check the weather forecast - Avalanche Chronicles
Why mountain weather isn’t just one forecast
Mountain weather changes fast, and conditions can be very different between:
The trailhead / valley floor (often warmer, less windy, sometimes rain)
The ridge / summit (often colder, much windier, whiteout risk, snowfall)

That’s why Skida lets you check weather in two practical ways:
For any point on the map tap the map where you want the forecast.
For a route view weather for both the bottom and the top of your planned line/route.
This helps you understand how conditions evolve with altitude and location, and reduces the risk of checking the wrong place, especially in regions where multiple peaks share the same name or in some language/letters you don't have on your.
What to look for before you go
A quick “green light” glance isn’t enough. When you open the weather forecast in Skida, pay attention to:
Wind speed and gusts: Wind is often the limiting factor above treeline. Gusts matter more than average wind.
Precipitation type and intensity: Rain in the valley can mean snow higher up, or vice versa depending on temperature.
Temperature: Combine temperature + wind to estimate wind chill and exposure risk.
Cloud cover / visibility: Poor visibility can make navigation harder and increase risk.
Trend over time: Conditions at 10:00 can be completely different at 14:00.
Hour-by-hour forecast (table view)
One of the most useful features is the hourly forecast displayed in a table. This makes it easy to quickly scan:
wind changes by hour
precipitation starting or stopping
temperature drops/rises
cloud cover and visibility patterns
This is perfect for timing decisions like:
“Should we start earlier to beat the wind?”
“Is precipitation arriving during our descent?”
“Will the temperature rise enough to increase wet-snow issues later?”

In practice: if the table shows wind increasing sharply around midday, you might plan a shorter objective or aim to be off exposed terrain earlier.
Read the meteorogram for the “big picture”

If you want the fastest overview of how the day will develop, the meteorogram is gold.
temperature curve
precipitation bars
wind and gust patterns
cloud layers / cloud cover
It’s a great way to spot patterns you might miss when reading values one-by-one, like:
a steady build of wind through the afternoon
a short but intense precipitation window
a temperature swing that changes rain ↔ snow
Real-time reality check: nearby observations
Forecasts are predictions. That’s why it’s incredibly valuable that Yr also makes it easy to find nearby weather observations.
When you check a forecast location, look for the closest observation points to see what’s happening right now in the area, such as:
actual temperature
measured wind
precipitation reports
This gives you a “sanity check”:
If the forecast says light wind but observations show strong gusts nearby, treat that seriously.
If precipitation started earlier than predicted, your plan should adapt.
Think of it as: forecast + live data = better decisions.
Webcams: the fastest way to understand conditions
Even better—Yr often provides access to webcams near the forecast location. This can answer critical questions instantly:
Is it whiteout above treeline?
Is it raining at the trailhead?
Is there fresh snowfall or drifting?
How’s visibility on ridges?
Do slopes look wind-scoured or loaded?
Webcams don’t replace judgment, but they add a powerful layer of situational awareness—especially on marginal days.
A simple pre-trip checklist (takes 60 seconds)
Before you commit to your plan, quickly run through:
Check weather for trailhead + summit (or bottom/top of route)
Scan hourly table for critical shifts during your tour window
Look at the meteorogram for overall trends
Compare with nearby observations
Check webcams to confirm visibility and precipitation type
If two or three signals point in the wrong direction, consider:
a safer route
a lower-elevation objective
a shorter tour
or simply postponing
Final tip: weather is part of route planning
A “safe route in safe conditions” is always the goal. Skida helps you keep weather information close to your planning flow so it becomes a habit, not an afterthought.
Check the forecast. Check it for the right place. And use the hourly table, meteorogram, observations, and webcams to connect the forecast to what’s actually happening outside.
Because the mountains don’t care if you forgot to check.


